
In November we blogged about how much we loved mixing and stacking tons of bracelets, well this trend is still hot! Here is a step by step guide to make your own bracelet to add to the stack. And make it neon to incorporate the 2012 trend!

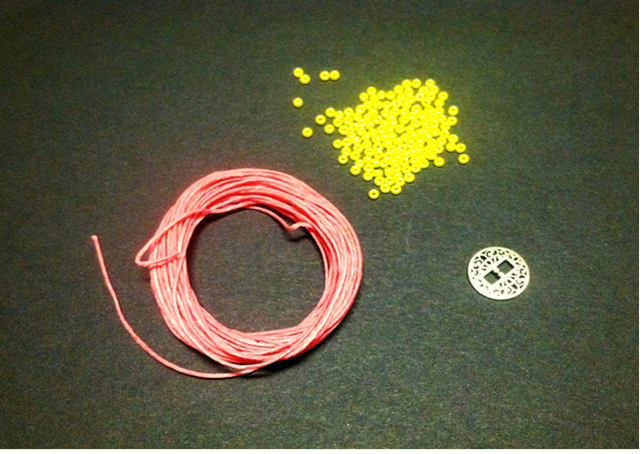
For this project you will need...
- 1.5 yards of waxed linen cord
- 20 - 30 size 8/o seed beads
- a 10-13 mm two hole button
- scissors
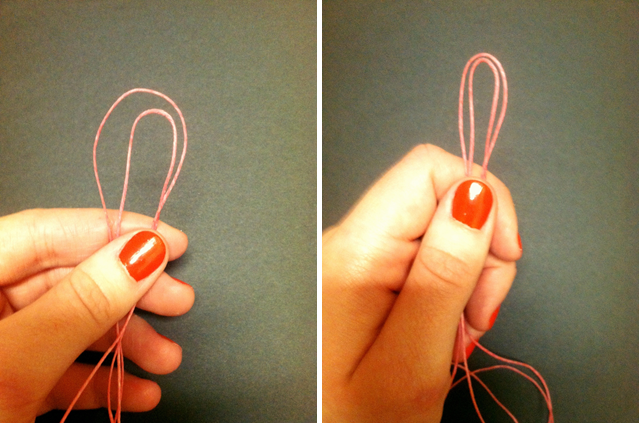
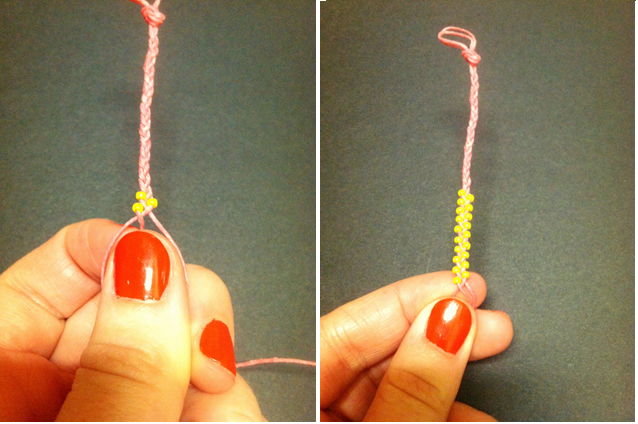
First cut the waxed linen cord into two 26" pieces. Fold the two pieces directly in half creating two parallel loops.
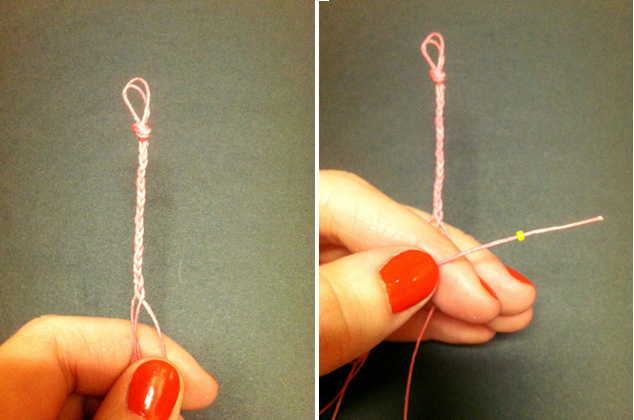
Tie a knot about half an inch down from the top of the loop. Next, cut off the forth string at the bottom of the knot, so there is three strings left that are equal in length.

Now start braiding the three strings. After about an inch or so start braiding in the beads. Start with the farthest string to the left and thread a bead on and crossover that string.
Continue braiding and adding beads with every string.
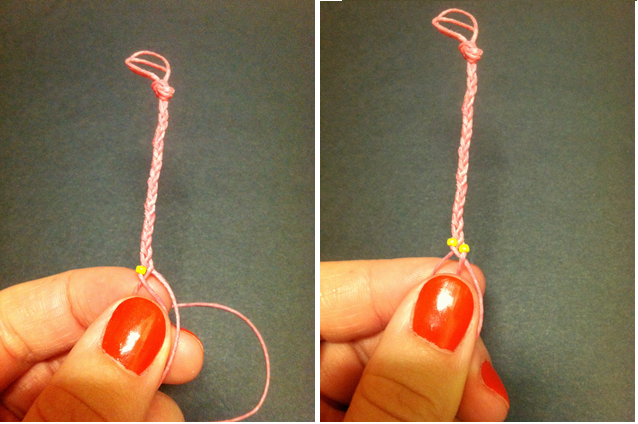
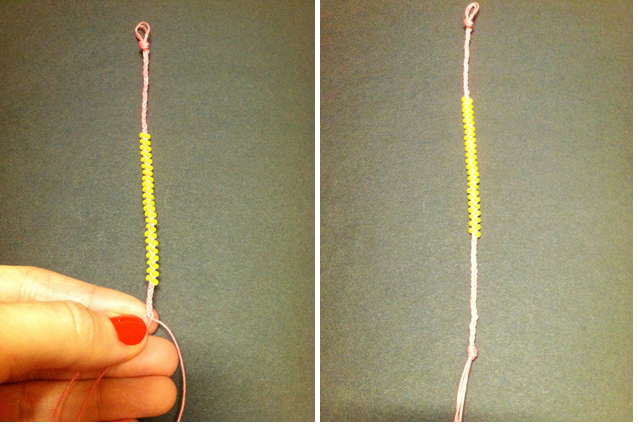
Continue this for about an inch and a half.
Make sure you measure all this according to your wrist size!
Once you have finished threading and braiding in the beads, just continue a normal braid for about an inch or so. Once you have finished that tie a knot at the end.
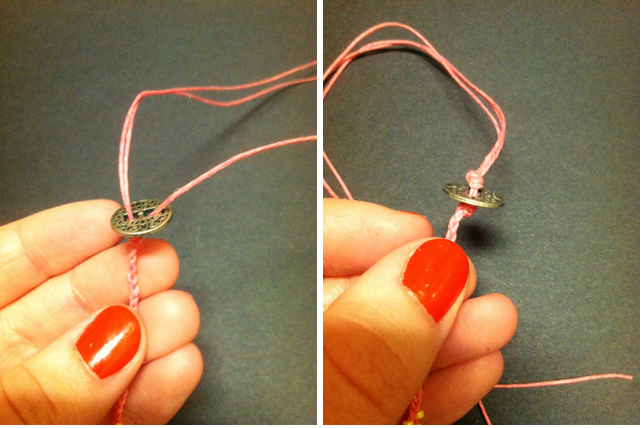
Next, thread the button onto the end of the bracelet. Two strings go into one hole of the button and the other string goes into the second hole of the button. Once the button is on tie it and cut of the excess string.
The button acts as the clasp for this bracelet.
Here is the finished product! I made four different bracelets using different bright, neon colors, they are perfect to stack with my other bracelets!
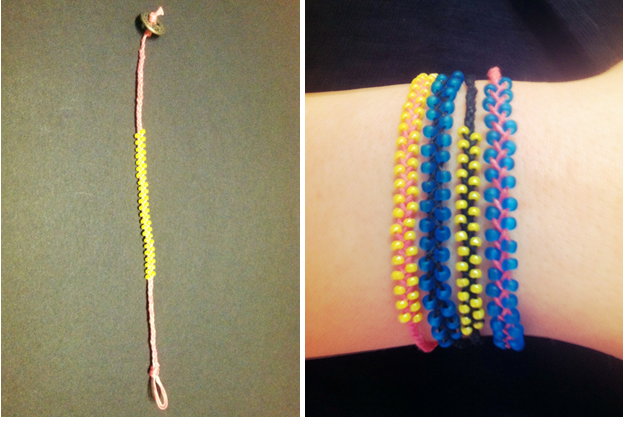
Have fun being crafty!
xoxo, Savanna
No comments:
Post a Comment